What's Salesforce?
Salesforce is the leading CRM in the enterprise world. It holds customer data, sales pipelines, support tickets, and marketing campaigns for companies ranging from startups to Fortune 500s. If you're building anything that touches customer data, you'll eventually need to connect to Salesforce.
Note: Salesforce doesn't use traditional API keys. It uses OAuth 2.0 authentication via Connected Apps, which provides a Consumer Key (Client ID) and Consumer Secret (Client Secret). This guide walks you through setting that up.
What You Can Build with Salesforce APIs
Salesforce APIs let you programmatically access CRM data:
- Lead Management: Sync leads between marketing tools and Salesforce
- Contact & Account Sync: Keep customer records consistent across systems
- Opportunity Tracking: Pull pipeline data into dashboards or analytics tools
- Custom Objects: Access any custom data structures your org has created
- Activity Logging: Create notes, events, and tasks programmatically
Prerequisites
Before you start, you'll need:
- Salesforce account with Administrator permissions
- Your Salesforce org's My Domain URL (format: https://yourcompany.my.salesforce.com)
- Clear use case for API access
Getting Your Salesforce API Credentials: Step-by-Step
Step 1: Navigate to App Manager
- Log into Salesforce
- Click the gear icon → Setup
- In the Quick Find box, search App Manager
- Click New Connected App (top right)
Step 2: Configure Basic Information Fill in the required fields:
- Connected App Name: Something descriptive (e.g., MyApp_Integration)
- API Name: Auto-fills based on app name
- Contact Email: Use a shared mailbox, not someone who might leave
Step 3: Enable OAuth Settings This is where the actual credentials come from:
- Check Enable OAuth Settings
- Callback URL: For server-to-server integrations, use a placeholder like https://login.salesforce.com/services/oauth2/callback
- Selected OAuth Scopes: Pick what you need:
- Full access (full) — For complete API access
- Access and manage your data (api) — Standard API operations
- Perform requests on your behalf at any time (refresh_token, offline_access) — Required if you need refresh tokens
For server-to-server integrations (no user login), also check Enable Client Credentials Flow.
Step 4: Save and Wait Click Save. Salesforce takes 2-10 minutes to provision your app.
Step 5: Get Your Consumer Key and Secret
- Return to App Manager
- Find your app in the list
- Click the dropdown arrow → View
- In the API (Enable OAuth Settings) section, click Manage Consumer Details
- Verify your identity (Salesforce sends a verification code to your email)
- Copy and store securely:
- Consumer Key (this is your Client ID)
- Consumer Secret (this is your Client Secret)
Step 6: Configure Policies (For Client Credentials Flow) If using Client Credentials Flow for server-to-server auth:
- In App Manager, find your app → Manage
- Click Edit Policies
- Under Client Credentials Flow, set:
- Run As: Select an integration user (create a dedicated one with minimum required permissions)
- Save
Step 7: Test Your Connection For Client Credentials Flow, test with cURL:
curl -X POST https://login.salesforce.com/services/oauth2/token \
   -H "Content-Type: application/x-www-form-urlencoded" \
   -d "grant_type=client_credentials" \
   -d "client_id=YOUR_CONSUMER_KEY" \
   -d "client_secret=YOUR_CONSUMER_SECRET"
For production orgs, replace login.salesforce.com with your My Domain: yourcompany.my.salesforce.com. You should receive an access token in the response.
Common Gotchas
- Token expiry: Salesforce access tokens typically expire in 2 hours. Client Credentials Flow doesn't return refresh tokens — request a new access token when needed.
- Sandbox vs Production: Different orgs have different credentials. Use test.salesforce.com for sandbox token endpoints.
- IP Restrictions: If your org has IP restrictions enabled, whitelist your server IPs, or the integration fails silently.
- Run As User Permissions: Your API access is limited to what the "Run As" user can access. Don't use a sysadmin unless necessary.
- Rate Limits: Salesforce enforces daily API limits based on your edition. Enterprise gets 1000 calls per user license per 24 hours. Monitor usage.
- Consumer Secret Rotation: If compromised, regenerate immediately via Manage Consumer Details. ⠀
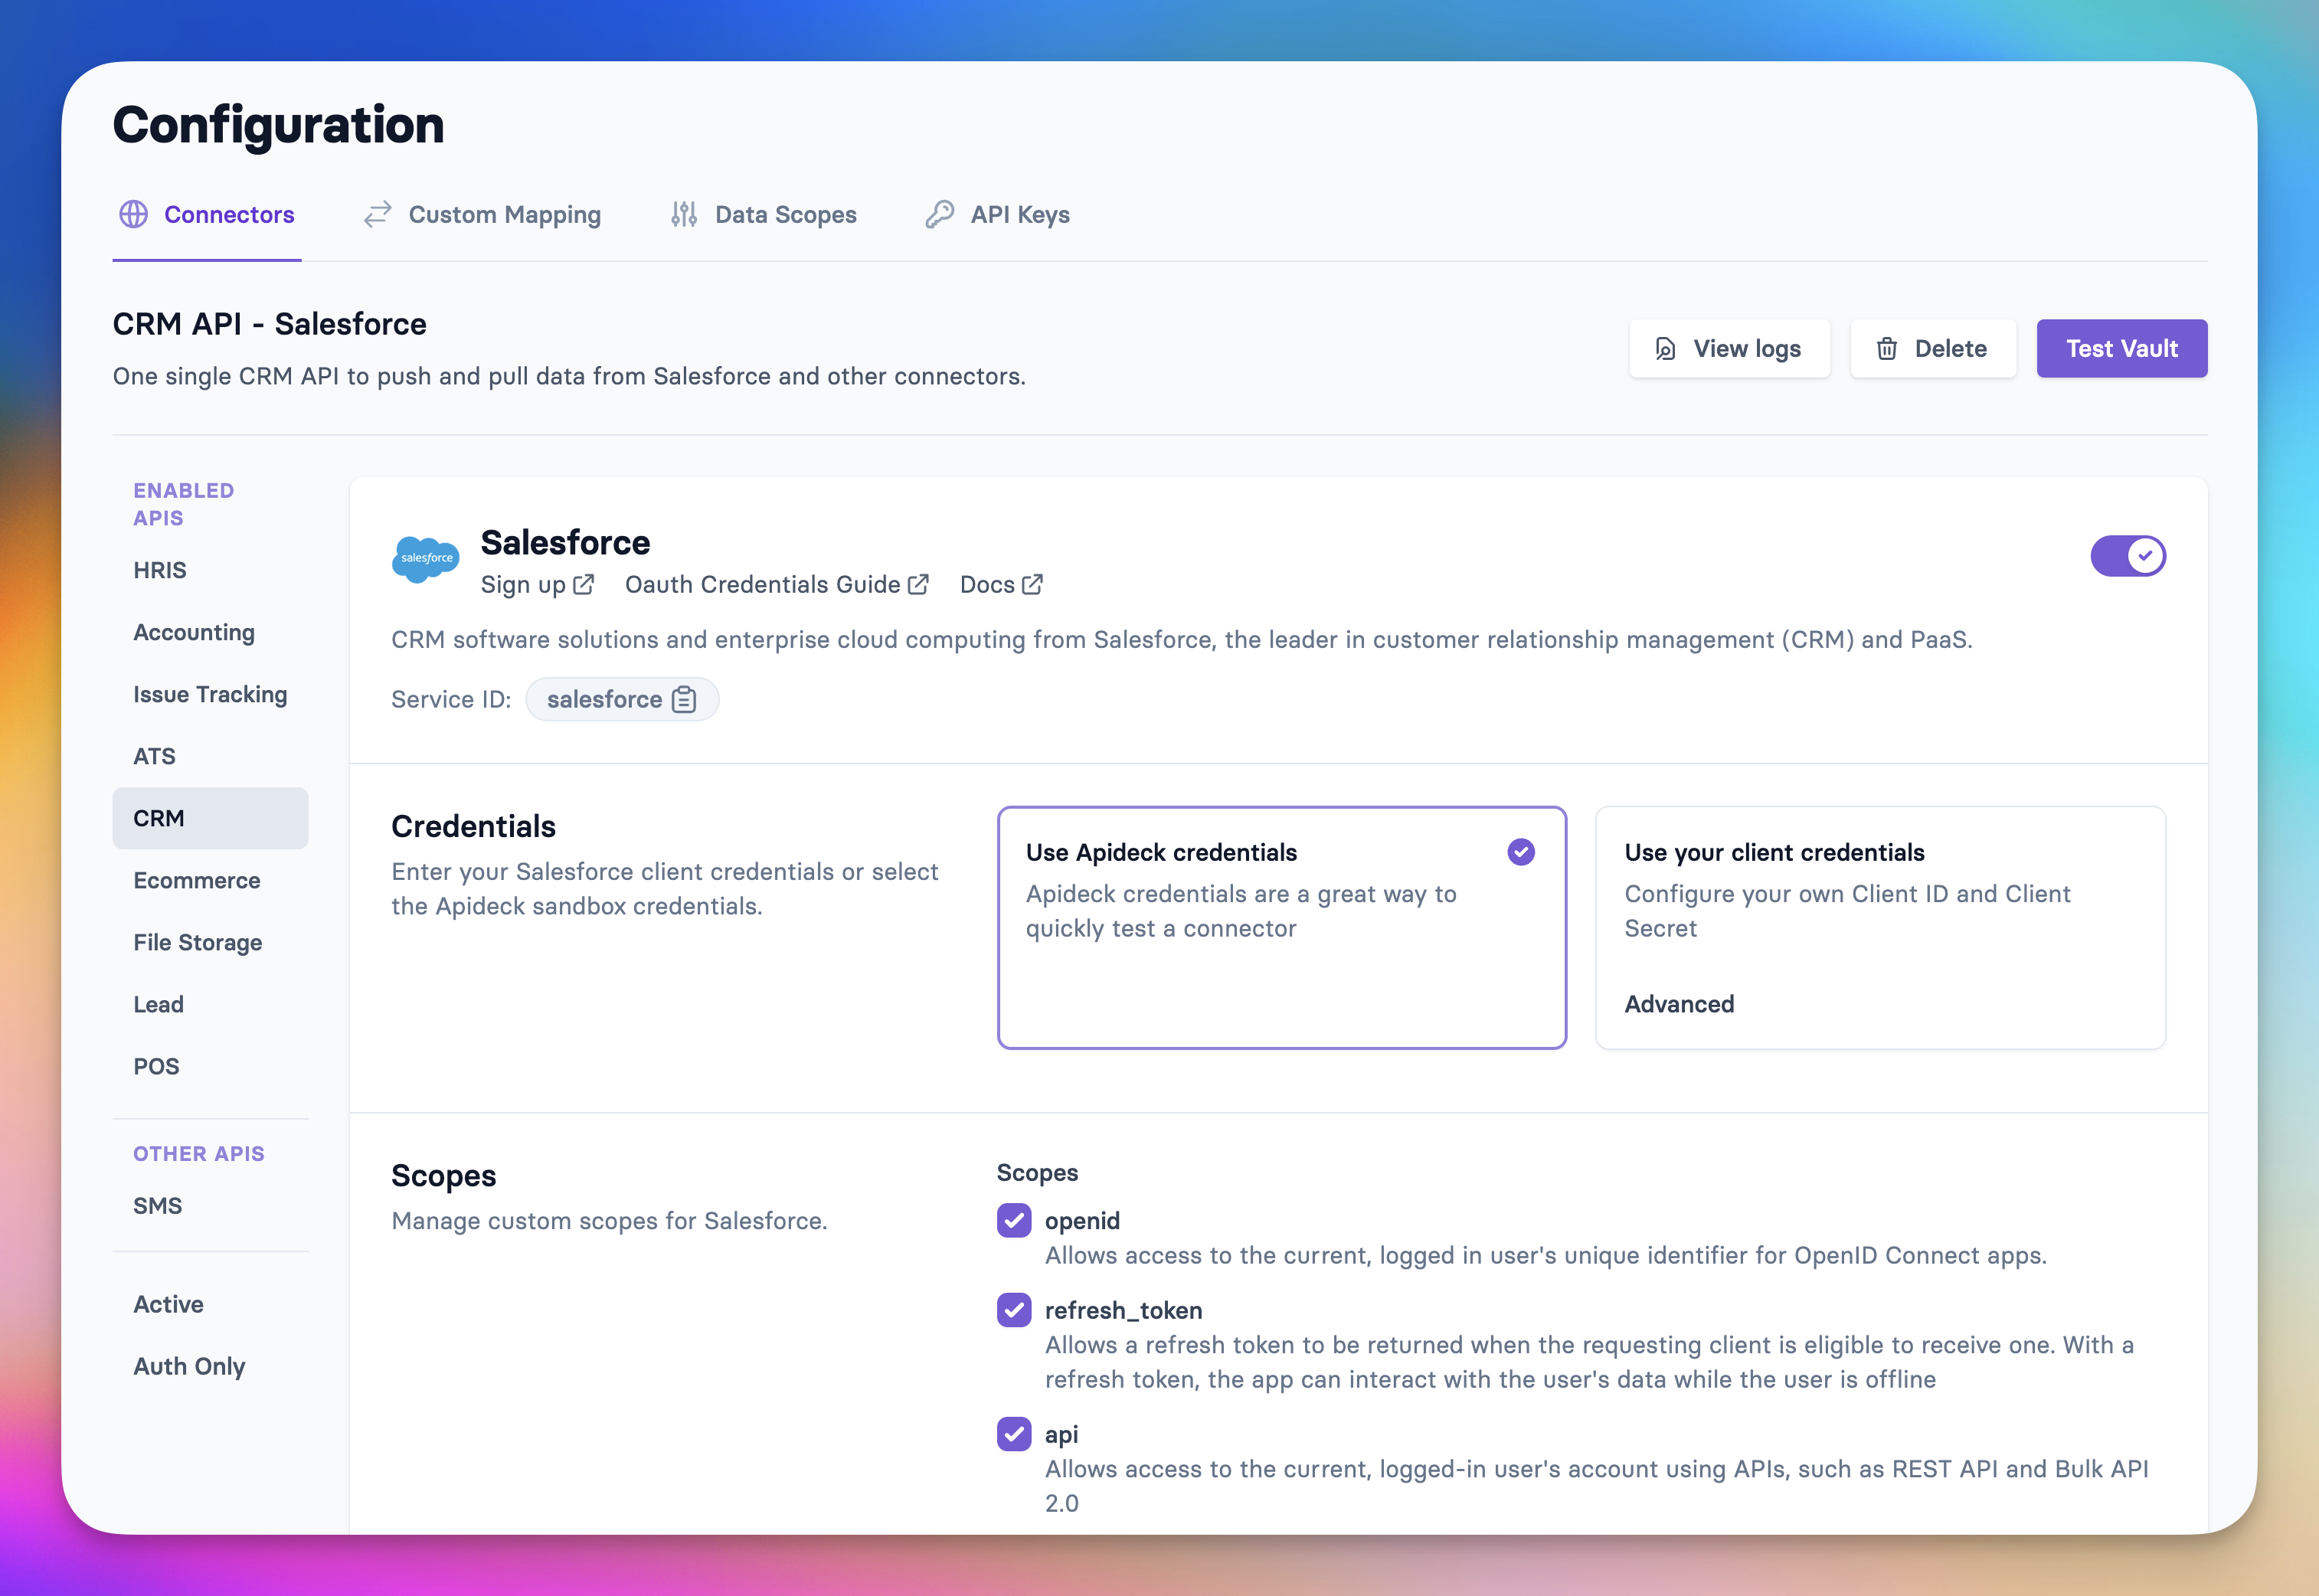
Managing Salesforce API Connectivity with Apideck's Vault
Integrating with Salesforce alongside other CRM systems? Managing OAuth connections across multiple platforms gets complex fast. Apideck's Vault handles this:
- Automatic token refresh — Vault handles token lifecycle management, so you don't need to implement refresh logic for every integration.
- Pre-built authentication UI — Embedded Vault components manage OAuth authorization flows without custom UI development. Your users authorize through Vault, not through your app.
- Centralized connection monitoring — Track connection health, detect credential expiry, and manage all your CRM integrations from one dashboard.
- Unified API access — Once connected, use
Apideck's unified CRM APIto access Salesforce data alongside 200+ other integrations through a single interface.
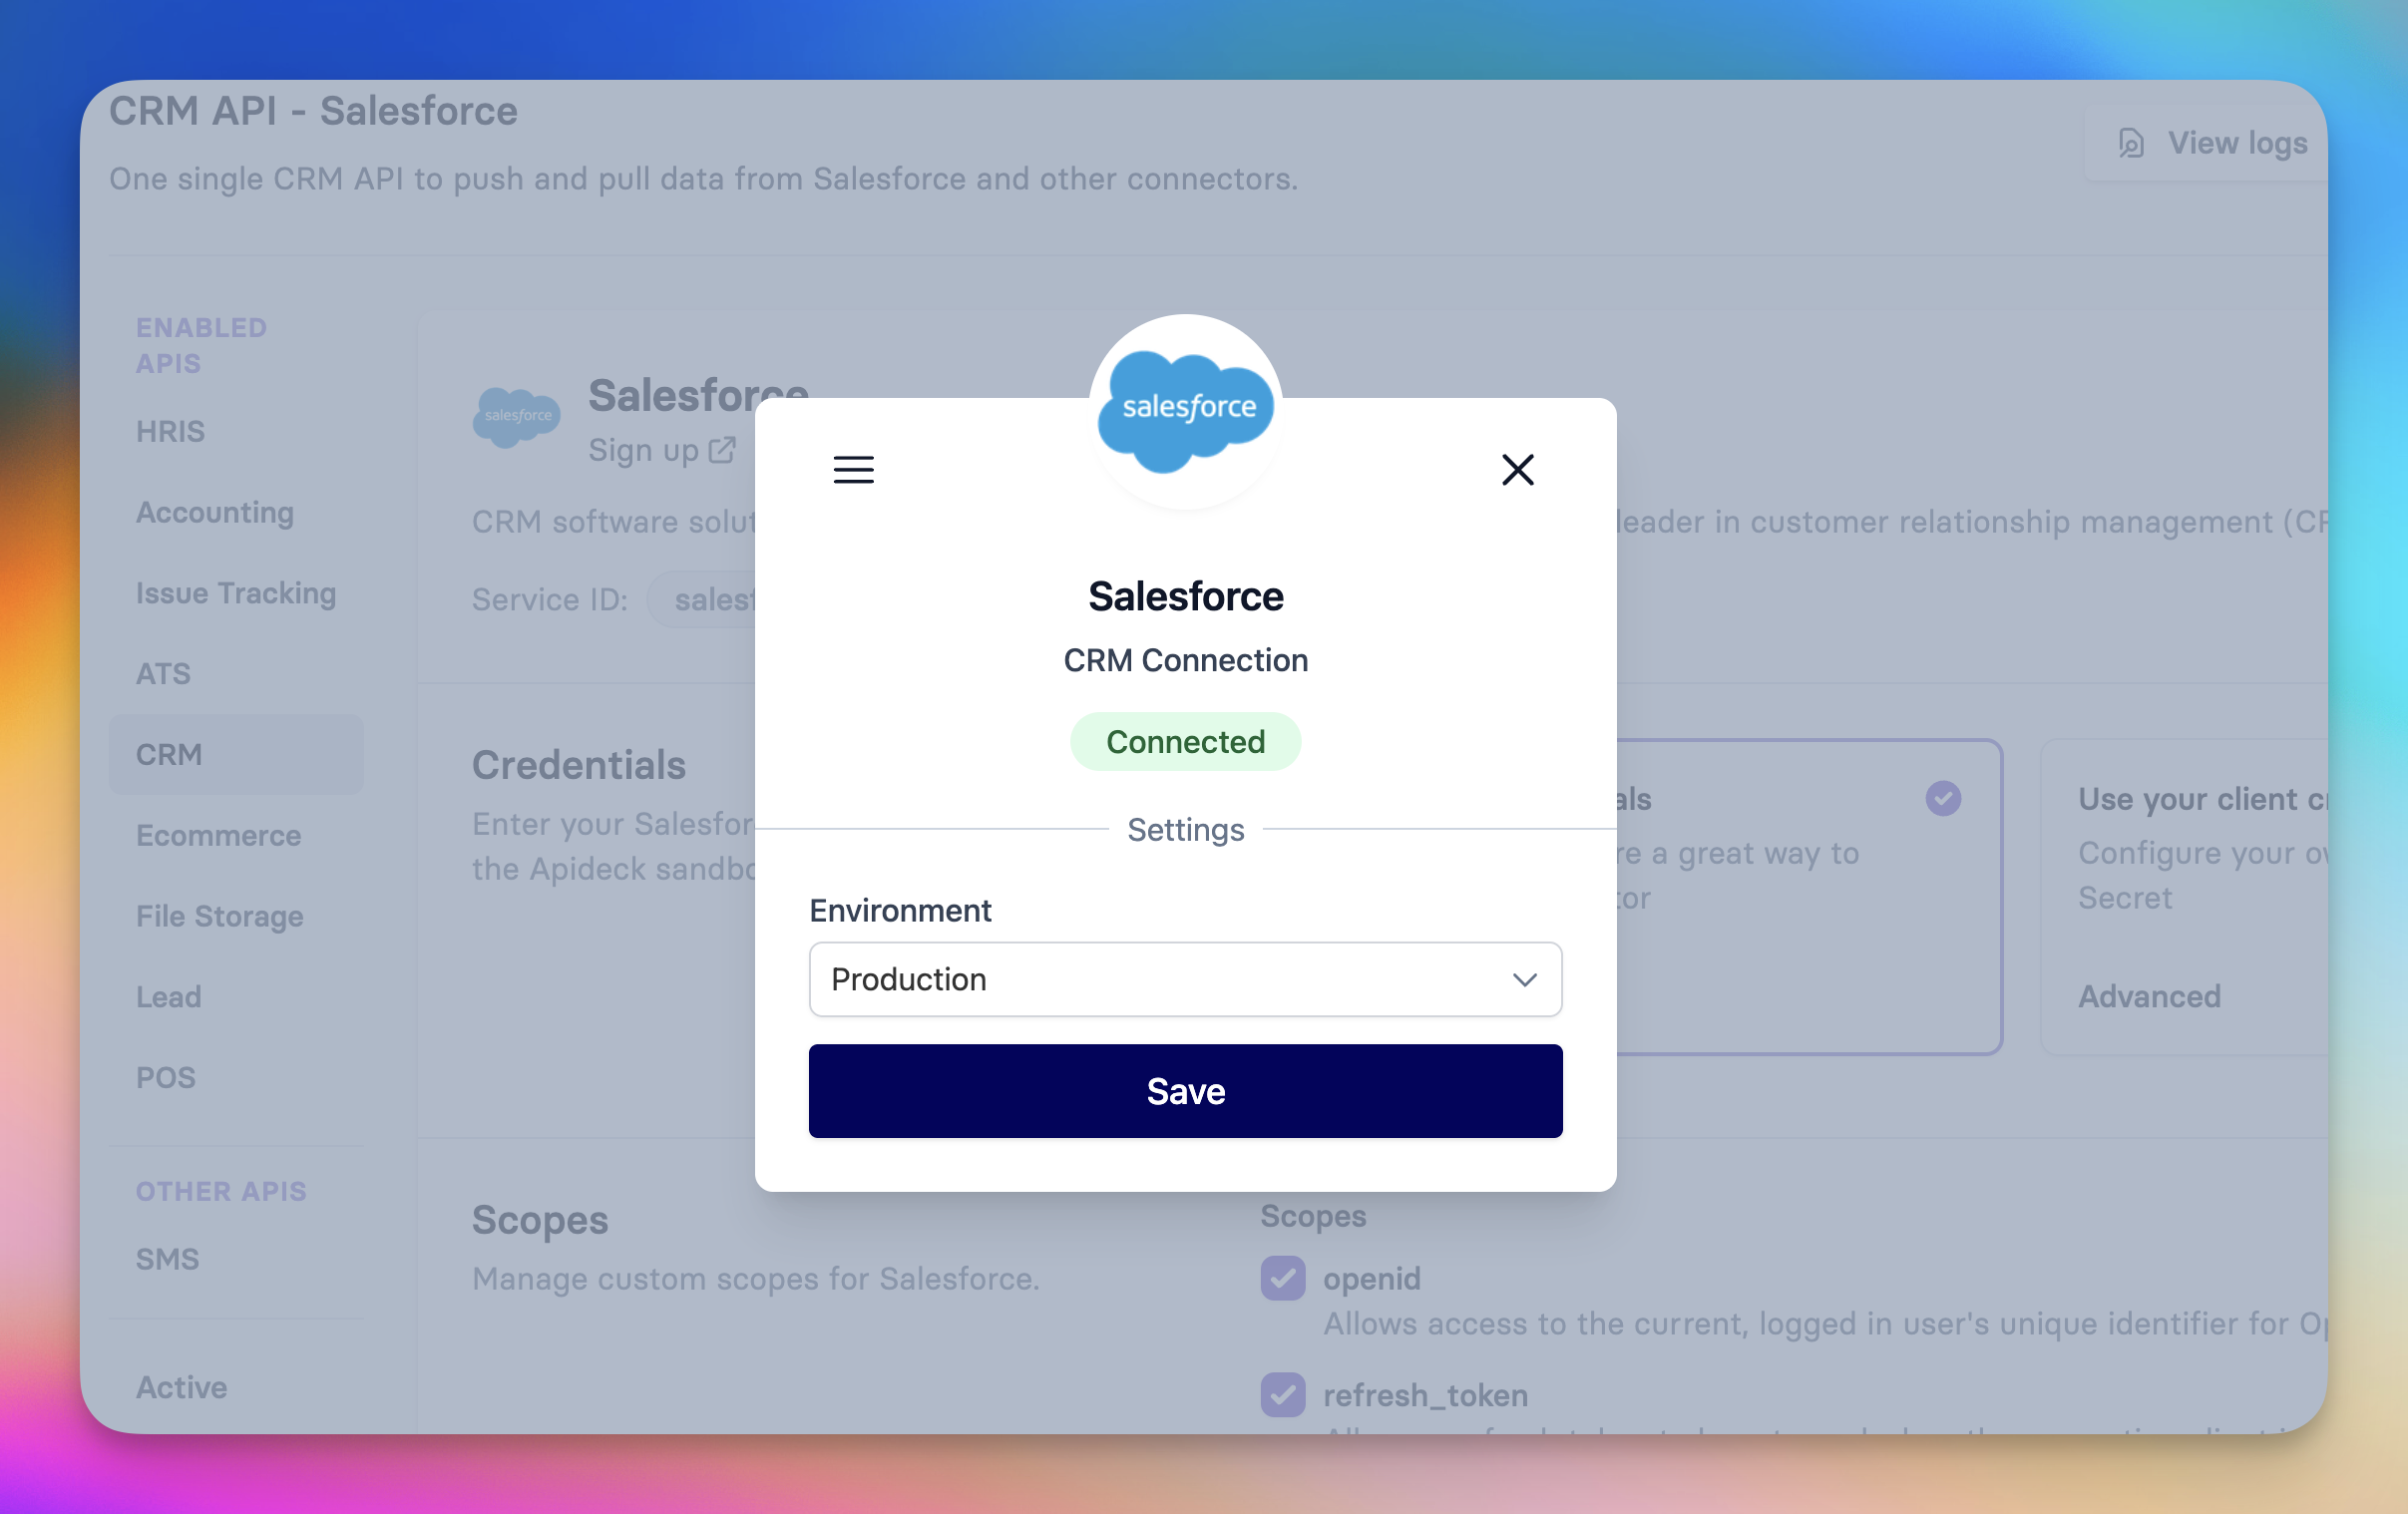
How to connect Salesforce through Apideck:
- Access your Apideck dashboard → Connections
- Select Salesforce from the
CRM connector library - Click Connect — Vault handles the OAuth flow
- Authorize access in the Salesforce pop-up
- Done. Your Salesforce connection is live, and token refresh is automatic.
For customers building multi-CRM integrations, this eliminates the need to manage OAuth flows, token storage, and refresh logic for each platform independently.
Next Steps
Now that you have API access:
- Review Salesforce REST API documentation for endpoint details
- Explore the Apideck Salesforce connector for unified CRM access
- Check supported Salesforce resources in Apideck's CRM API
⠀
Summary: Vault Benefits for Salesforce Integration
| Challenge | Without Vault | With Apideck Vault |
|---|---|---|
| OAuth flow implementation | Build custom authorization code handling | Pre-built UI components |
| Token storage | Build secure credential storage | Encrypted vault with automatic management |
| Token refresh | Implement refresh logic per platform | Automatic token refresh |
| Connection monitoring | Custom health checks | Centralized dashboard |
| Multi-CRM support | Build separate integrations | Single unified API |
Ready to get started?
Scale your integration strategy and deliver the integrations your customers need in record time.